How to Punch a Punchcard (The Right Way)
- July 7, 2025
- 3 comments
New to punchcards? Punching your own designs is easier than you think—and it all starts with one tiny pin. Here’s how to punch your punchcard accurately so your machine can read it without a hitch.
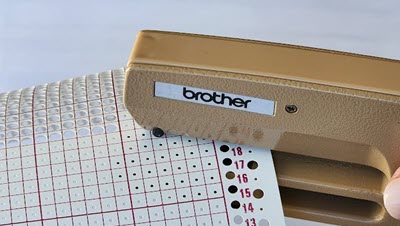
First, it takes a specialized tool. Your punch tool has a small metal pin that aligns with the tiny guide holes along your blank punchcard. Line up the pin with the hole - and punch. That’s it.
It may feel too easy to be true, but accuracy matters. If your holes are slightly off, the card might not be “read” correctly by your machine’s punchcard reader.
I'm showing a vintage Brother tool, but new tools are availble here

Grab a punchcard punch and a set of blank cards—everything you need to start creating custom stitch patterns on your machine.
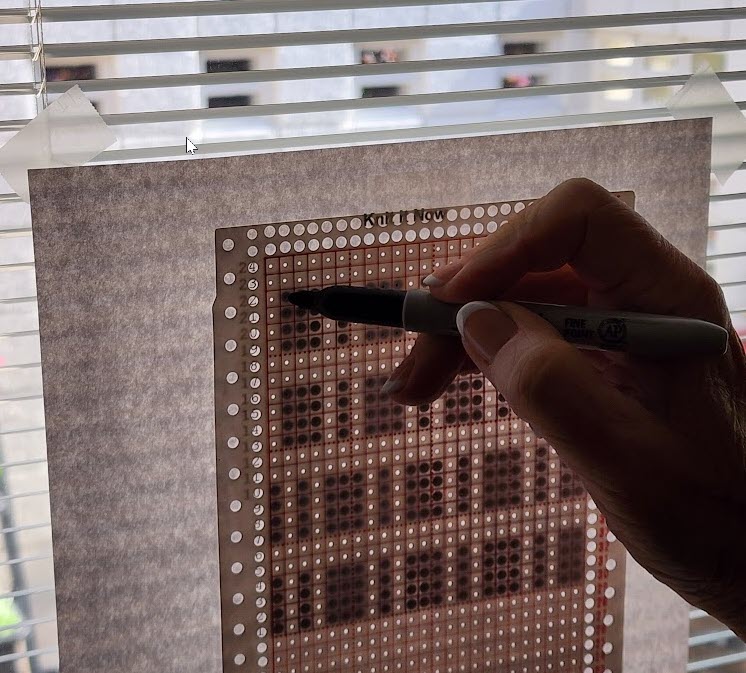
View Product DetailsIf you’re copying a full size stitch pattern diagram (like one produced with DesignaKnit), here's a trick that works like a charm:
Yes, a punchcard punch is designed specifically to align with the card’s guide holes. It ensures the spacing is just right for your knitting machine to read the pattern accurately.
Yes—any fine-tip pen or pencil will work for marking. Just be sure to mark lightly so you can still see your guidelines after punching.
Nope! This method works for any 24-stitch punchcard machine, including Brother, Silver Reed, Studio, and others. Just make sure you’re using compatible cards and punch tools.
You can find a punchcard punch and blank cards in our store. We offer a complete set to help you get started with custom stitch patterns.
View the Punch and Cards Set


")


© Copyright 2026 Knititnow.com, All rights reserved.